
And I Learn Kids Love to Make Gifts from wood
I was teaching “shop” to kindergarteners and as new teacher I found children loved activities I was able to create from the world of tools, building and fixing. We took apart VCR’s, patched bike tires, put faucets, flashlights and locks together, used the hot glue gun, and, best of all, did woodworking. One-day five-year-old Amanda made the car pictured below:
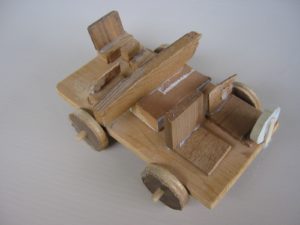
I try not to compliment projects because I want the reward to come from the work of building not, from adult approval, but this time it just came out and I told Amanda how cool I thought her car was. And she tried to give me the car, but as her teacher I didn’t feel right about taking it, and didn’t.
In the back of the room we had a shelf where kids put projects to take home or projects that needed finishing the next week. Amanda “forgot” her project and left it on the shelf. Over the next couple months, even though we talked about more than once, the car stayed on the “take home” shelf. She kept “forgetting it.” Eventually the term was over and Amanda moved on to the first grade. The car remained on the shelf and I took it home. Every time I see that little car, or think about it, I remember it was Amanda who made me realize how much kids love to make presents.
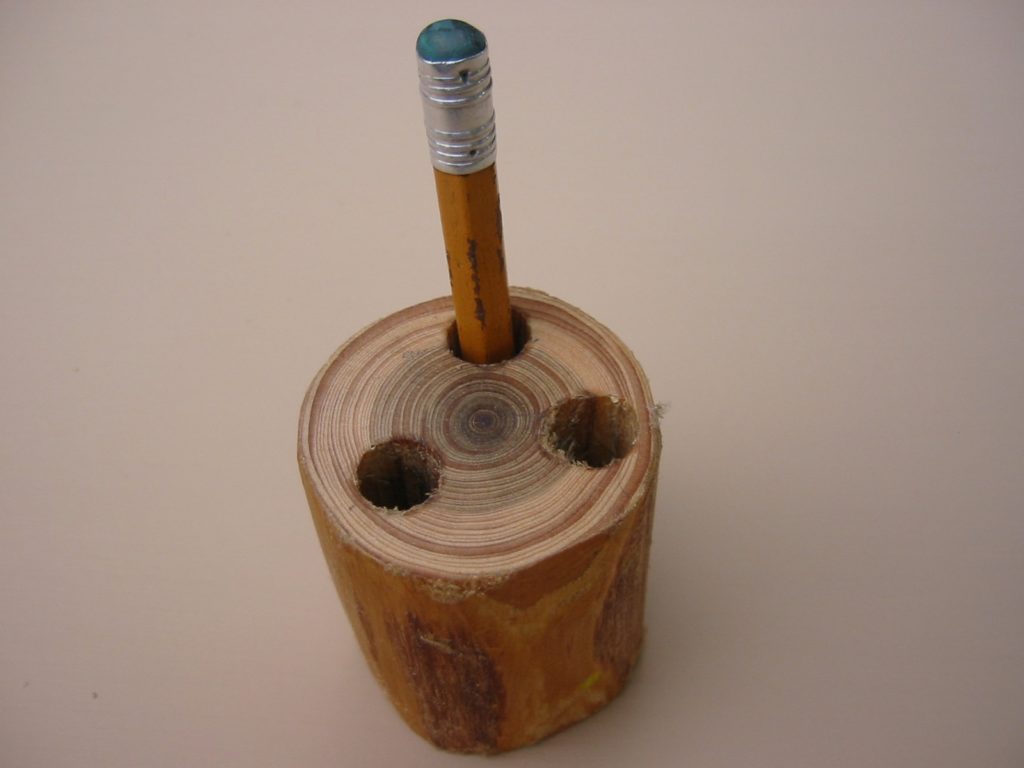
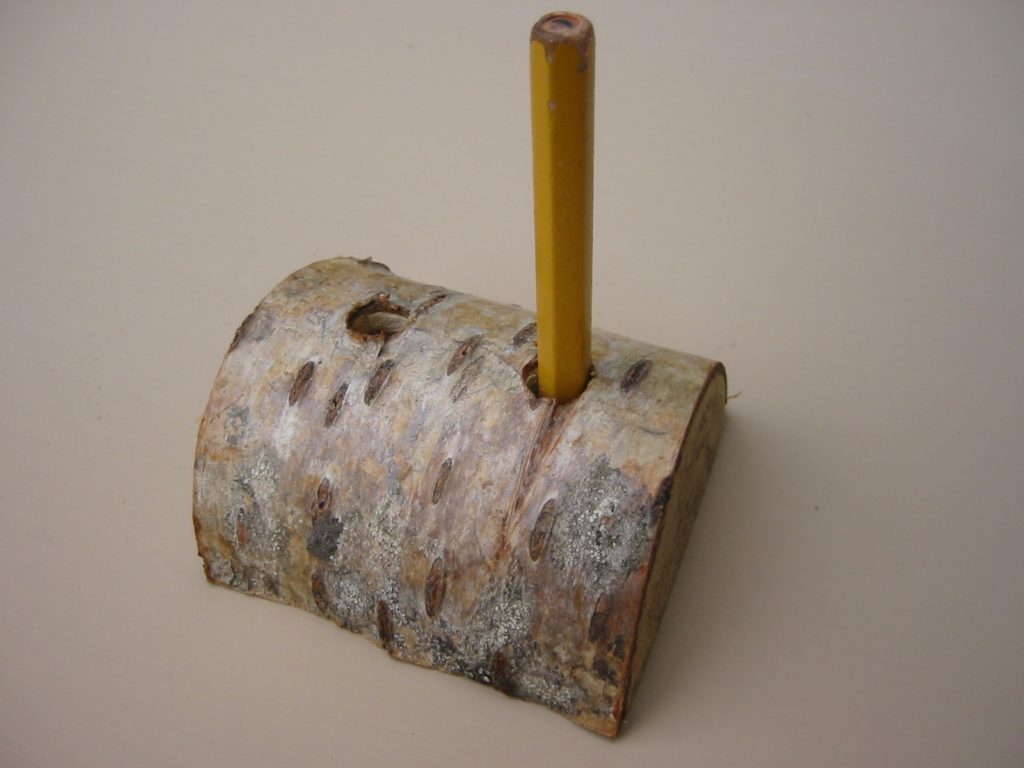
Shop class in December became a time for kids to make presents and over time I worked out details of projects they could do. Pencil holders for mom and dad were popular. This involves taking a branch, (should be seasoned) cutting 2 or 2 ½” inches off, drilling some pencil sized holes (with my hand operated drill press) sanding it up, and then oiling with mineral oil.
A cedar pencil holder
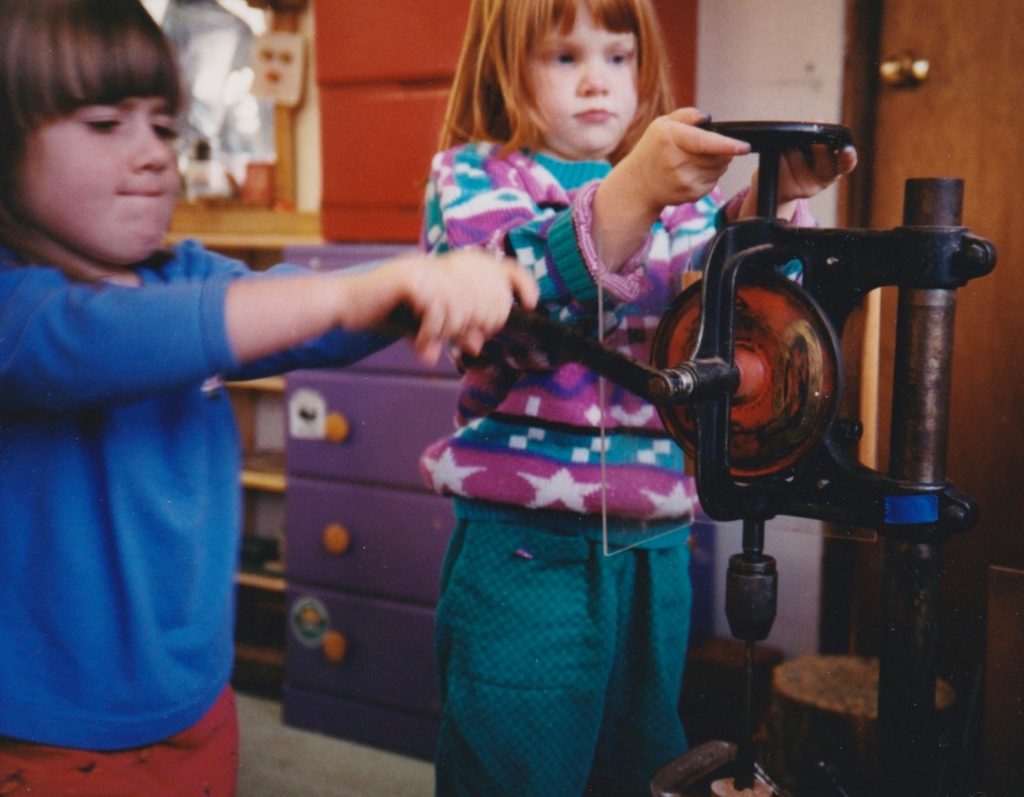
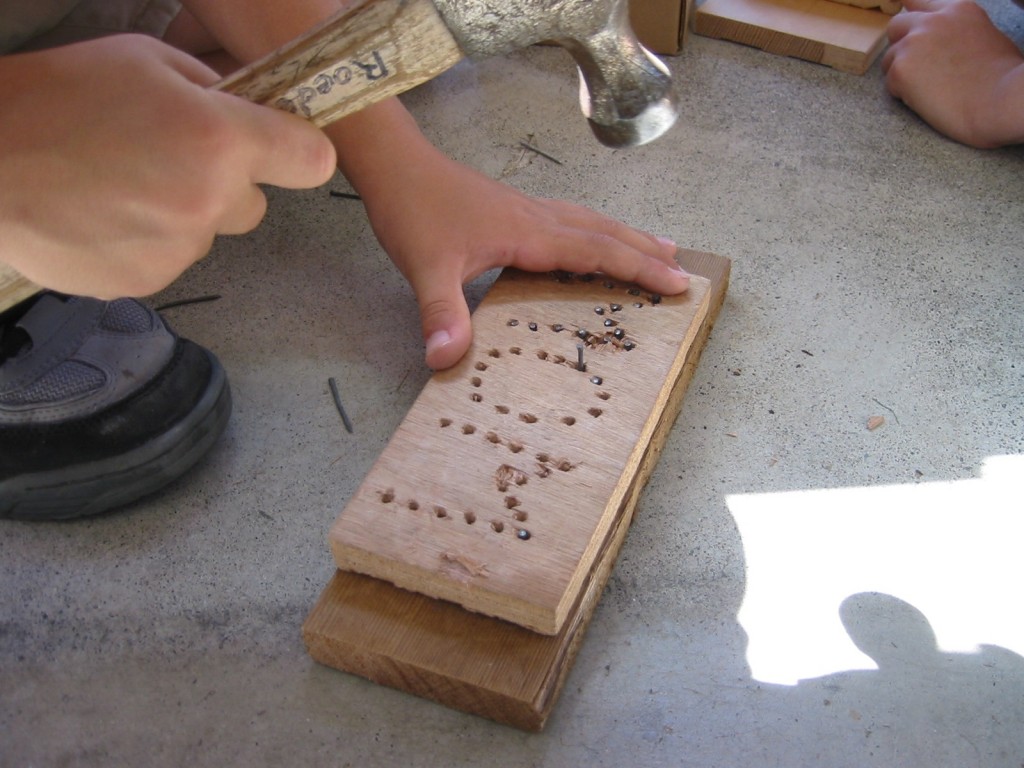
Using the drill press
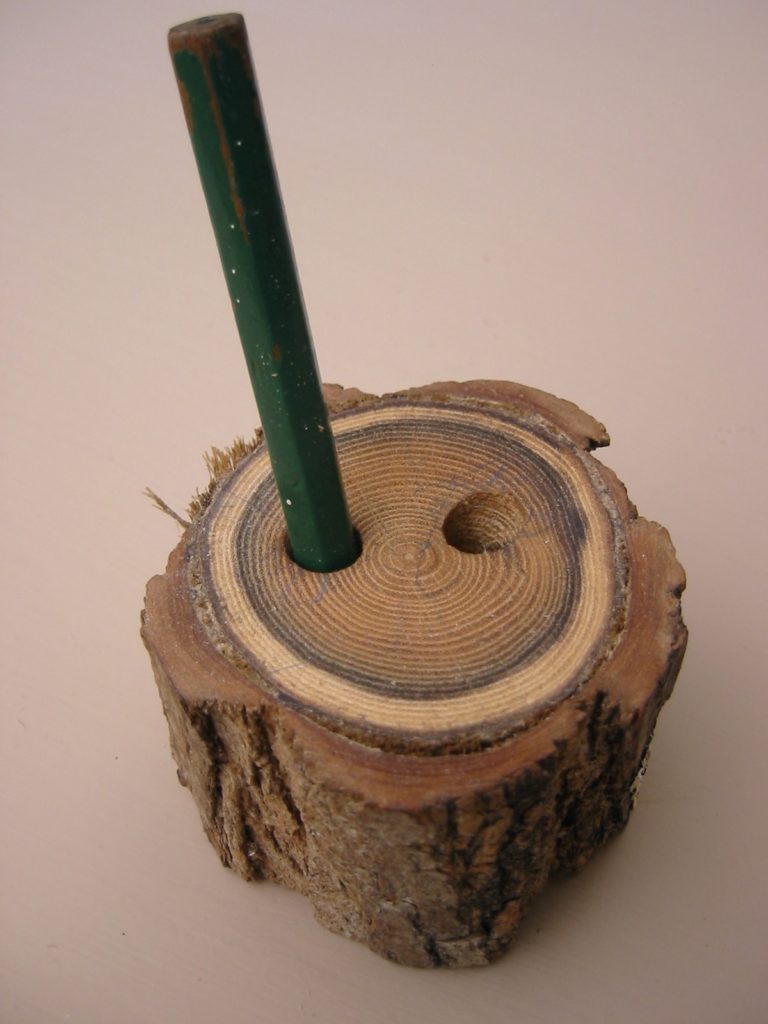
A locust pencil holder
A birch pencil holder
Another project the young ones liked for presents was the mom and/or dad sign.
Dad sign. This one doesn’t have the yarn for hanging it up yet.
It took me a while to figure out how to set this project up so kids could do it. The idea came when a child asked, “I want to make a sign of my name with nails.” It seemed like a good idea, being busy, and not really thinking about it, said, “Good idea, go ahead.” Not surprisingly, his name ran off the board so I offered to do the writing for him. This got him started, but as often happens with woodworking one problem begets another: spacing the nails.
If you have been pounding nails for years its easy to space nails, say, ¼” apart, but for the little persons not so much. I showed him how to use a pencil as a spacer, and that helped, but then another problem appeared: when he went to hit the second or third nail he would knock the first one down. It was frustrating and not very successful.
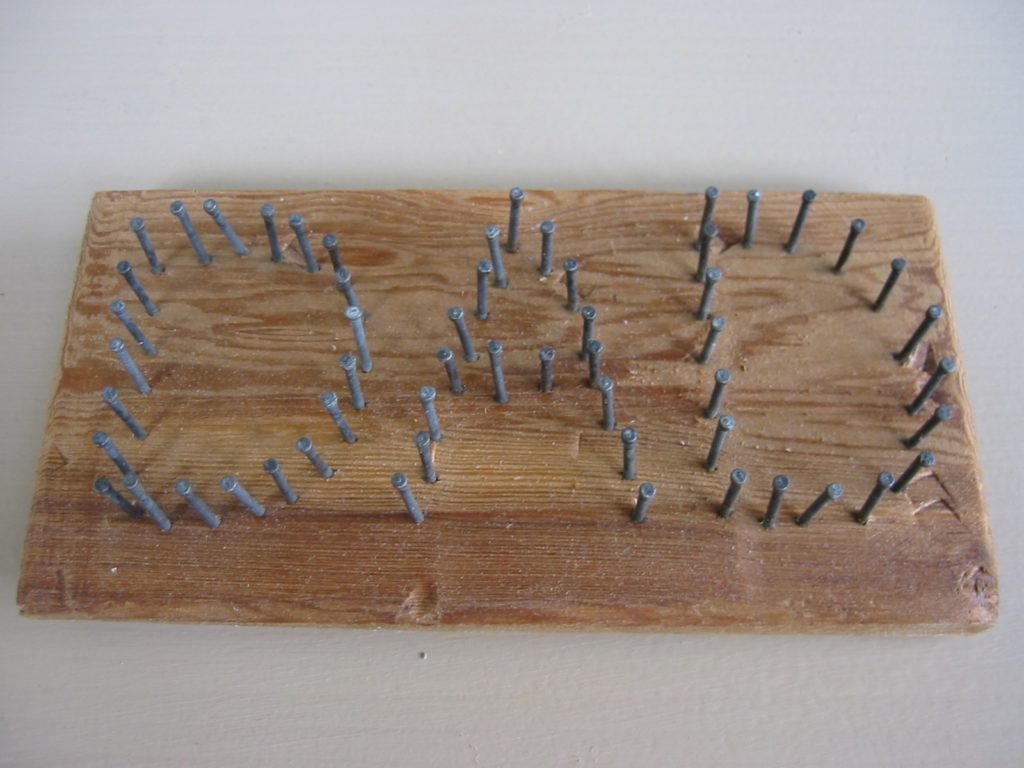
The mom jig
So I made a jig to simplify construction. I wrote MOM and DAD on separate boards, plywood is best. Then I drilled 1/8 holes in the letters every 1/4” or so. The kids take a finishing nail (smaller than the hole) and set it in the hole and pound it in. The jig takes care of the spacing and holding the nail straight. All a kid has to do is pound the nail. Its great pounding practice. After the nails are in, and I’ve pull a couple bent over nails out, I pry the jig off the top of the sign. Its works pretty well. The nail pounding is real work for them, as there are quite a few nails. Some of the younger kids needed a break before they finished.
The last part of the project is to drill two holes up in the corners and tie yarn between them so the sign can be hung up.
Here are two other present projects made by older kids long ago:
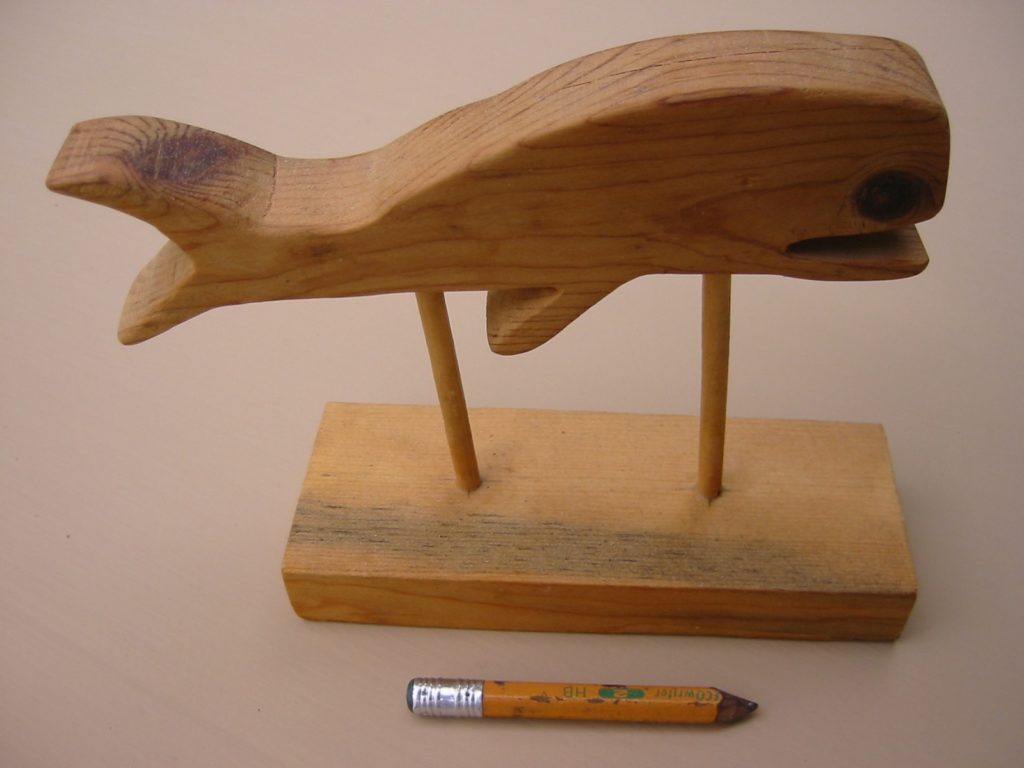
Because she liked whales my son Ben made this whale for his grandmother when he was in the 6th grade.
The whale
And I made a sailboat letter holder for my mom when I was in the 6th grade. She kept it on her desk for 45 years.
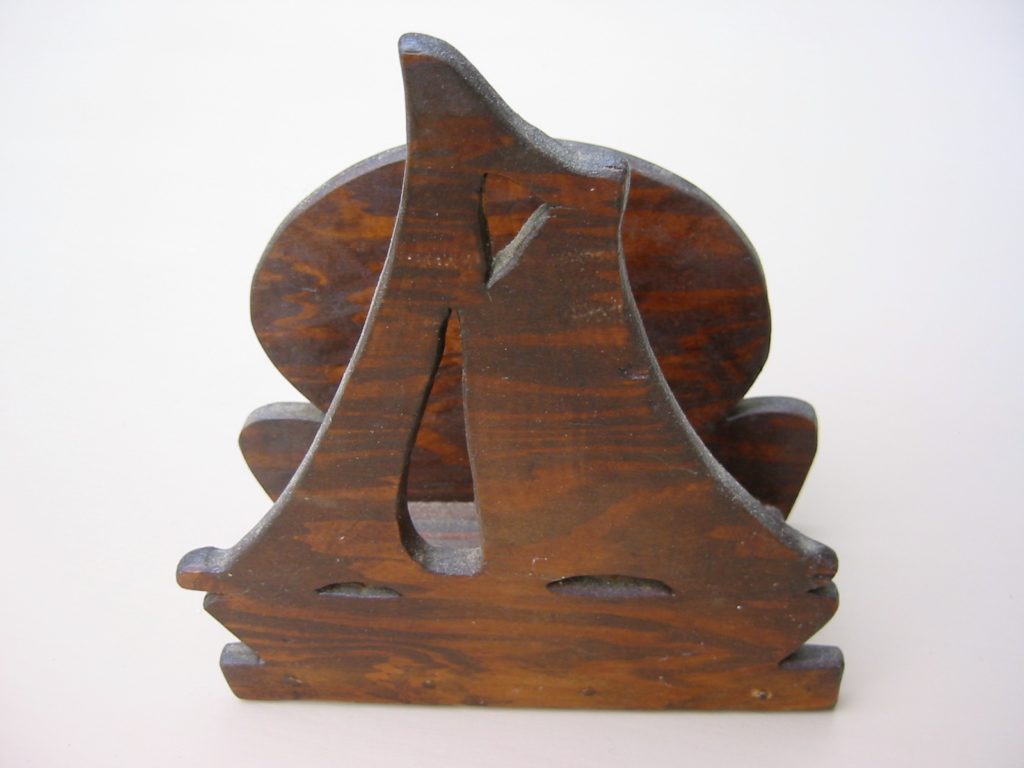
The sailboat letter holder
I like the helpful info you provide in your articles.
I will bookmark your blog and check again here regularly.
I am quite certain I will learn plenty of new stuff right here!
Best of luck for the next!
What a wonderful set of lessons for the kids. Way better than the ashtray I made in school. I so wish a more hands on approach was taken at all levels of school. Whether it is working on a car, building a bed or a pencil holder.
I will also say that making sure the girls are involved is wonderful. My wife can remodel a bathroom (her dad taught her) and so can mine (i taught her).