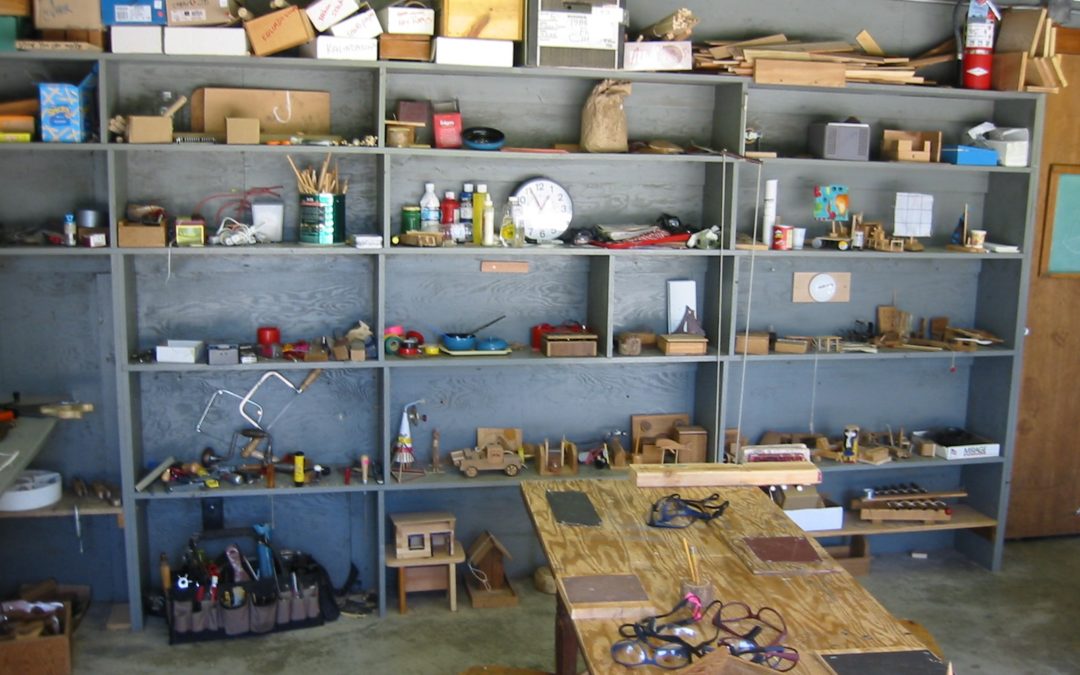
The pictures below are the left, the center, and the right portions of the double garage where my woodworking for kids class took place. The class was sponsored by the County Parks.
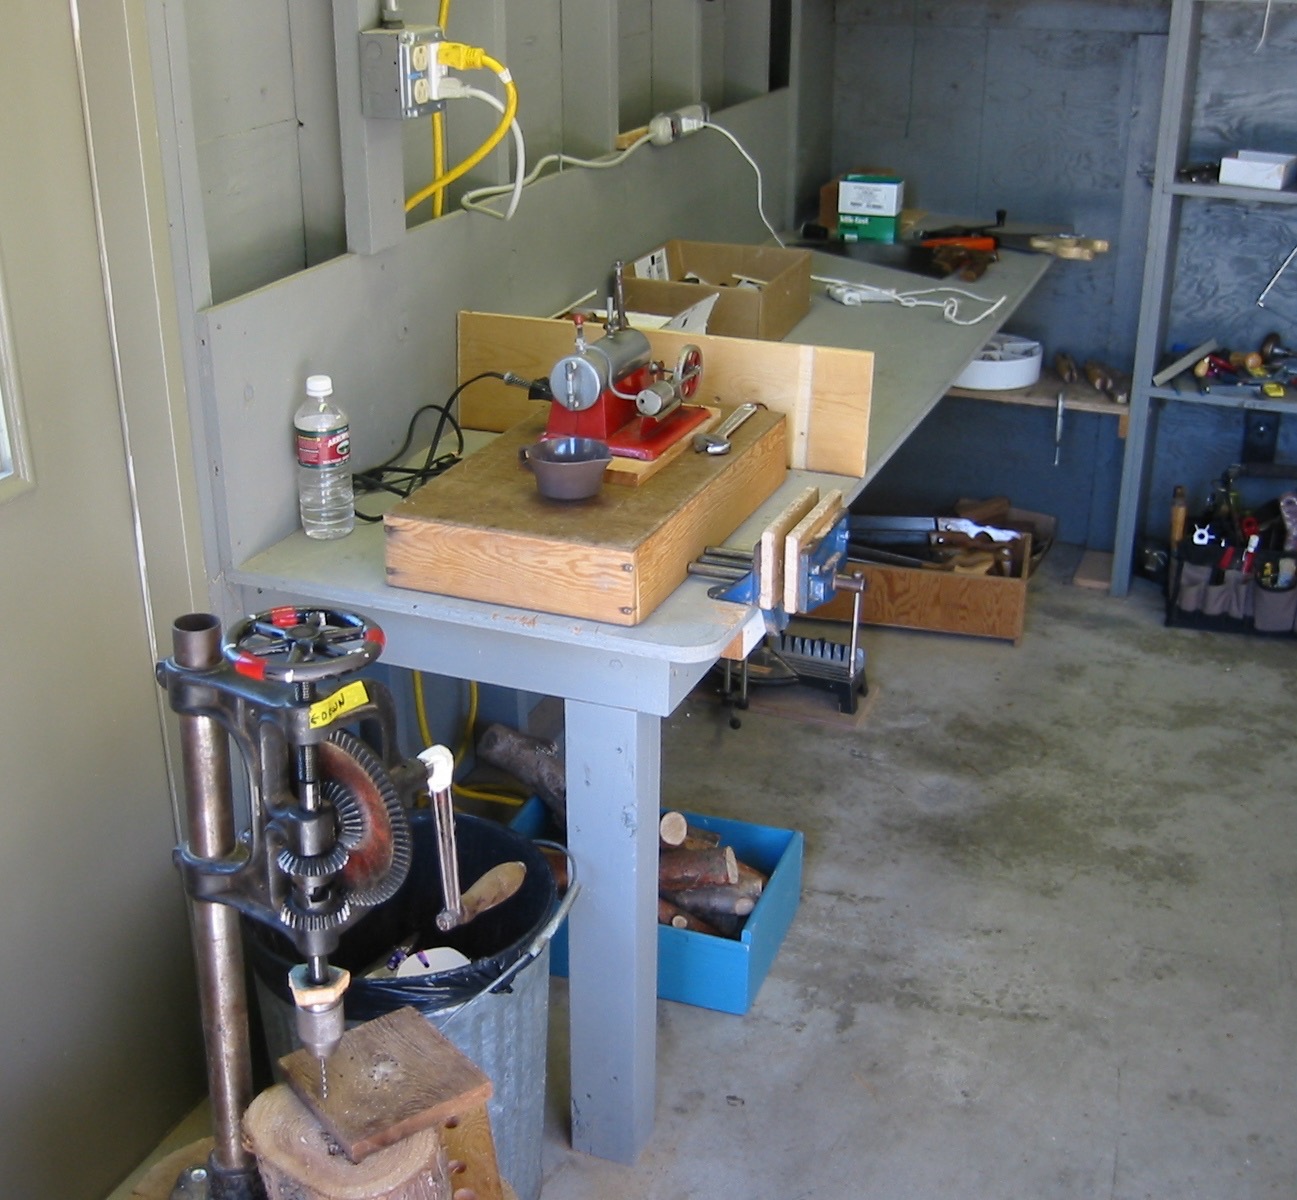
This is the left side of the shop looking in. Its not a great picture. The red in the center of the picture is a steam engine. At first I had two classes, science and woodworking (shop). I found the kids in the science class wanted to do woodworking and the kids in woodworking wanted to do science and there was some duplication anyway. So I combined the two having a science experiment at the begining of each class made some of the projects “science.” This reduced my prepartion time somewhat.
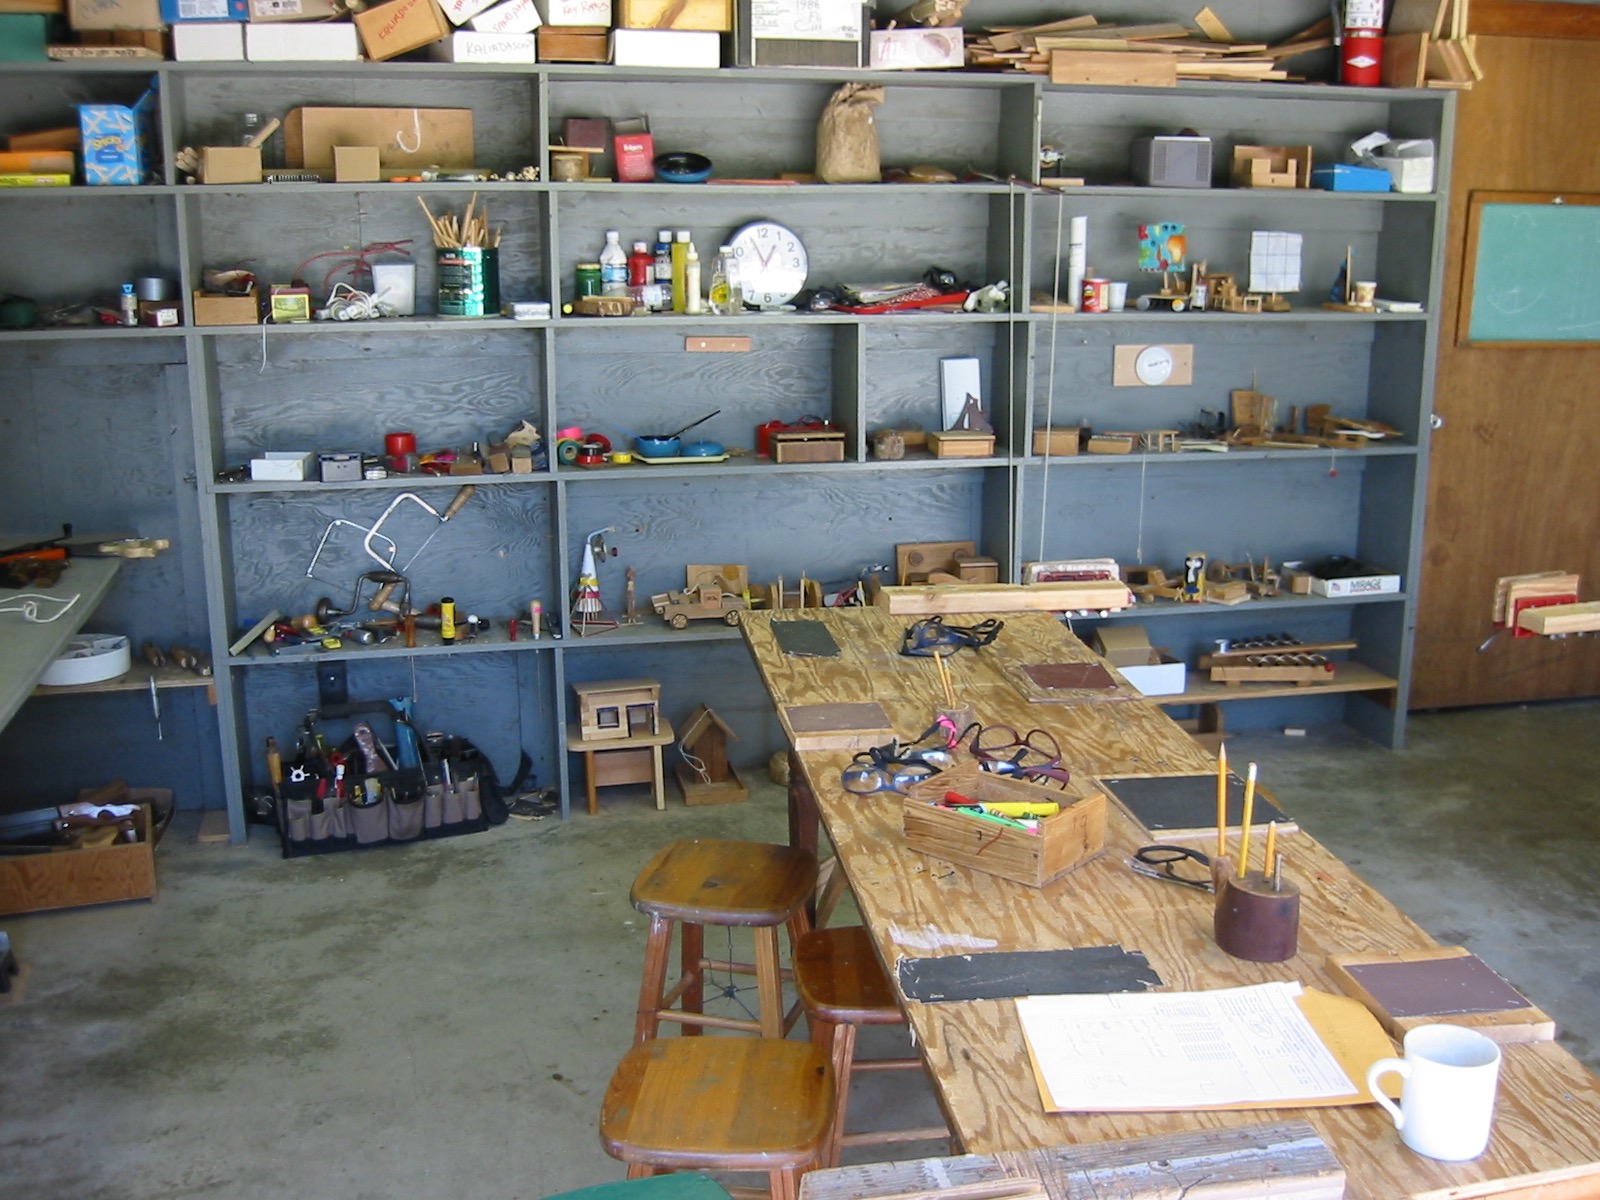
This is the center portion of the shop. The center shelves held project examples, the upper shelves had supplies. The boxes on the upper shelf each had the materials for a specific project.
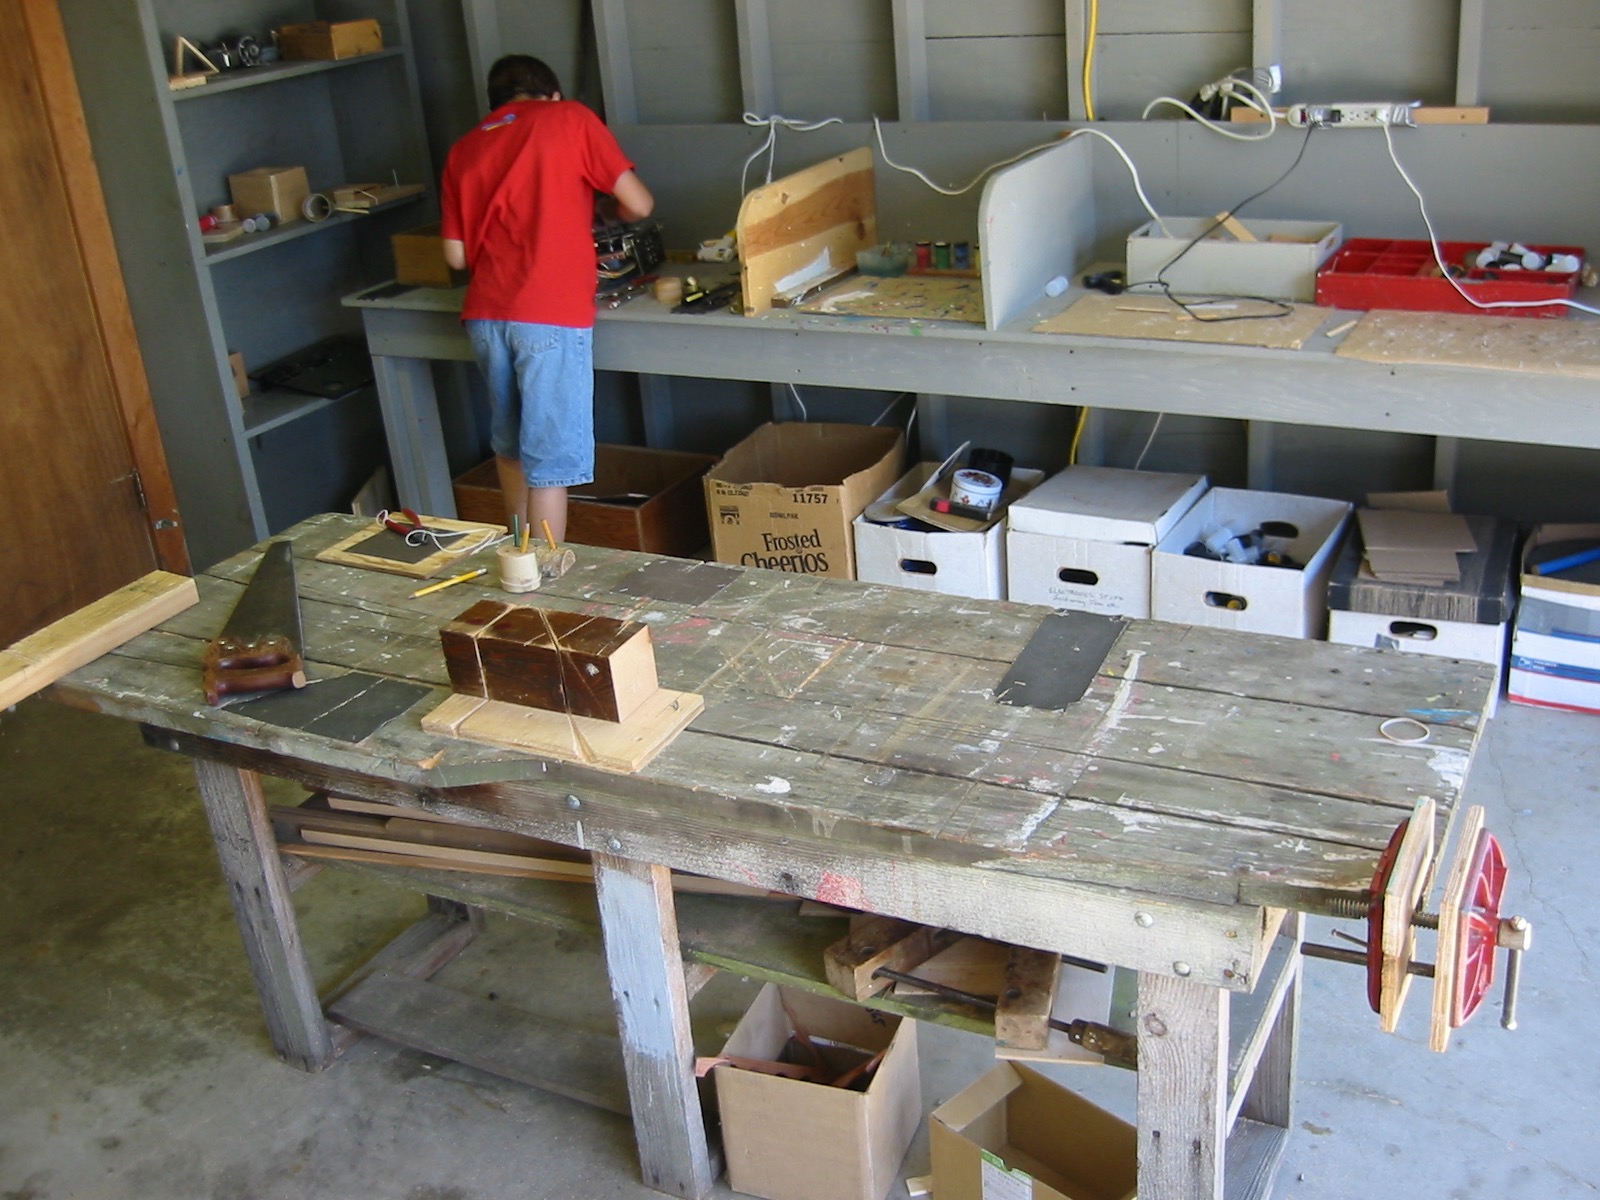
This is the right portion of the shop. The red shirt fellow is working at the take-apart station. The bay to his right is the painting station and the far right is the hot glue gun station. Boxes below contain project materials. A workbench is in the foreground. There were six vises for 10 kids which was about right.
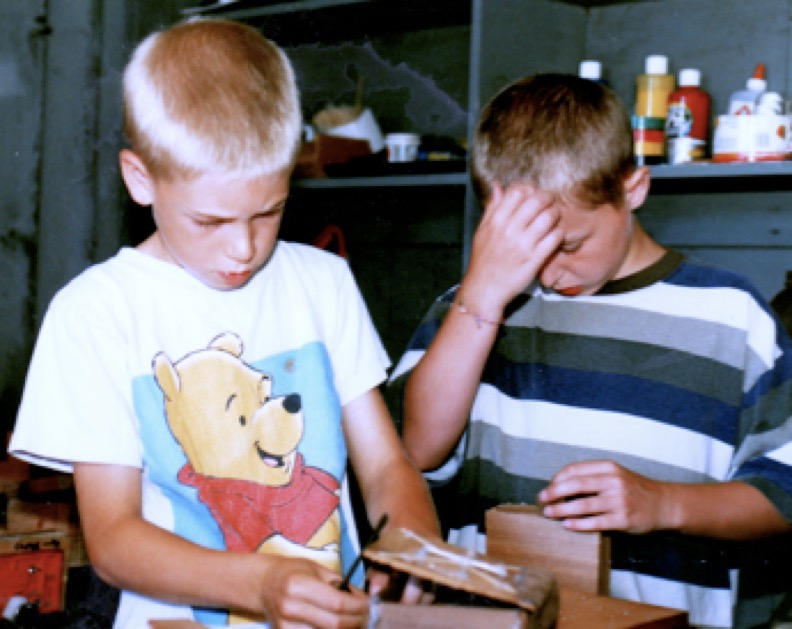
……hmmmm…what do i do now?
My summer class was set up in a double garage. The workbenches were inside but with the door open we were able to use the outside area in front of the garage, all in all a nice space. Although the class is woodworking, I always have a table of puzzles (mechanical, electrical, wood) my marble roll and builder boards. I bring these extra things so kids can have something to do before everyone arrives, if they finish their projects early, or if they just want or need a break. The class is two hours and there are 10 kids. It goes like this:
Kids will usually drift in over a 15 or 20 minute period. If a child comes early and has a project to finish or knows exactly what she wants to build she can go to work (except on the first day). Otherwise we wait till everyone arrives because it makes me grumpy if I have to repeat beginning directions over and over. They have to be repeated enough as it is.
I have a “project of the day” set out on a table and kids can check it out. After everyone arrives we all sit down and I usually start with a short lesson. I think of woodworking as a series of very short lessons so I’ll take any opportunity to repeat something I’ve seen people having difficulties with. I might say, “I noticed some kids were having trouble with using the drill press so I just wanted to go over again how to use it.” Or, “I want to show you how to cut a larger piece of wood that won’t fit in the vice………” Or “today I’d like to show you a tool we haven’t used yet, the clamp (or rip saw or spiral screwdriver etc.). Whatever little demo I choose, usually just short sections from the tool use section my book, I make it short and too the point and directly related to a problem someone encountered.
After the demo I show the project of the day. I can handle only so many different projects. The way I keep a lid (or try to) on the number of different projects being built, while still offering kids a choice, is to have a “project of the day”. It works like this: today the project of the day is boxes (whatever). If you’d like to build a box come over here and I’ll show you how to get started. If you don’t want to build the project of the day and know what you want to build and know how to start, go ahead and start. If you need help getting started on a different project I’ll be with you in a minute. Meanwhile try to get the wood ready or try and figure the first step yourself.
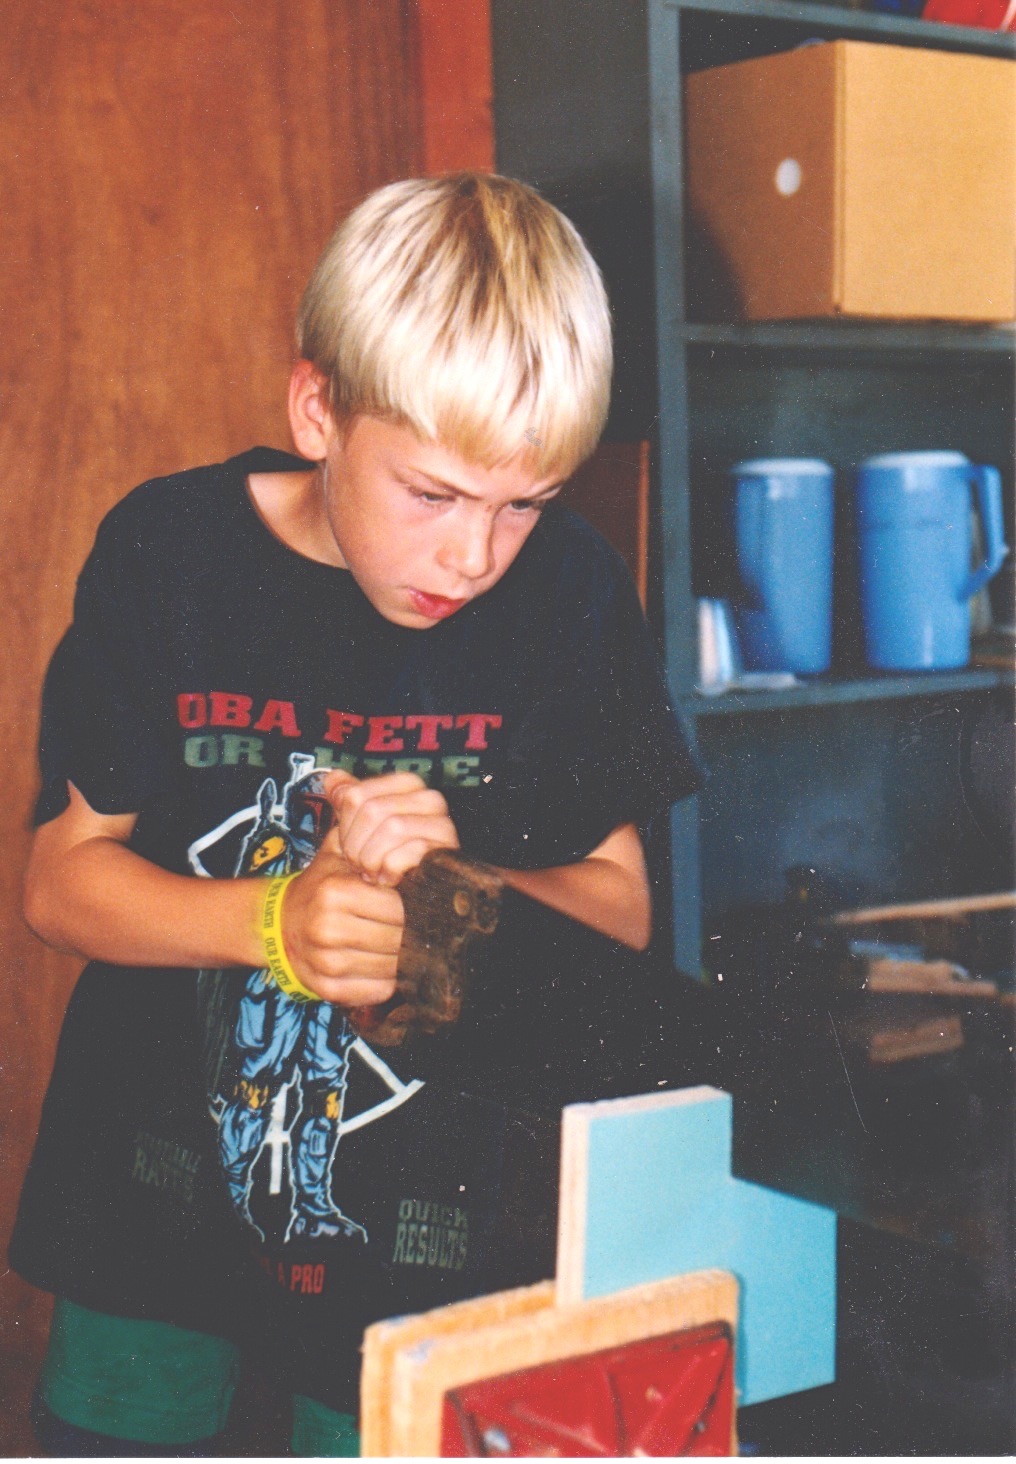
concentration
Usually out of 10 kids 6 or 7 will want to build the project of the day. One or two kids will be happy on their own, without much supervision. After I’ve started the project of the day one or two kids will want help getting started so I’ll do that. Maybe one child will want to build something unrealistic (a working robot, a giant toy box) or too advanced for their skills so I’ll try suggest something more realistic. After everyone is started I go around and help whoever needs help. The problems children have for any given project are predictable. If everything goes well for the teacher, which it will after a little practice, projects will move along smoothly.
Every once in a while, especially during the first year or two of teaching, things will become hectic. Kids will need more help than you are able to give. Frustration, both yours and the kids will mount. This is almost always a result of trying to help build too many different projects, or projects which are too difficult. It’s easy to fall down this path before you realize its happening. After a while, when being stretched, I learned to say something like, “This project requires quite a bit of help. I got five different projects going now and I’m having trouble helping everyone. Could we save it for tomorrow? Maybe you could choose something you can do by yourself or without quite so much help.”
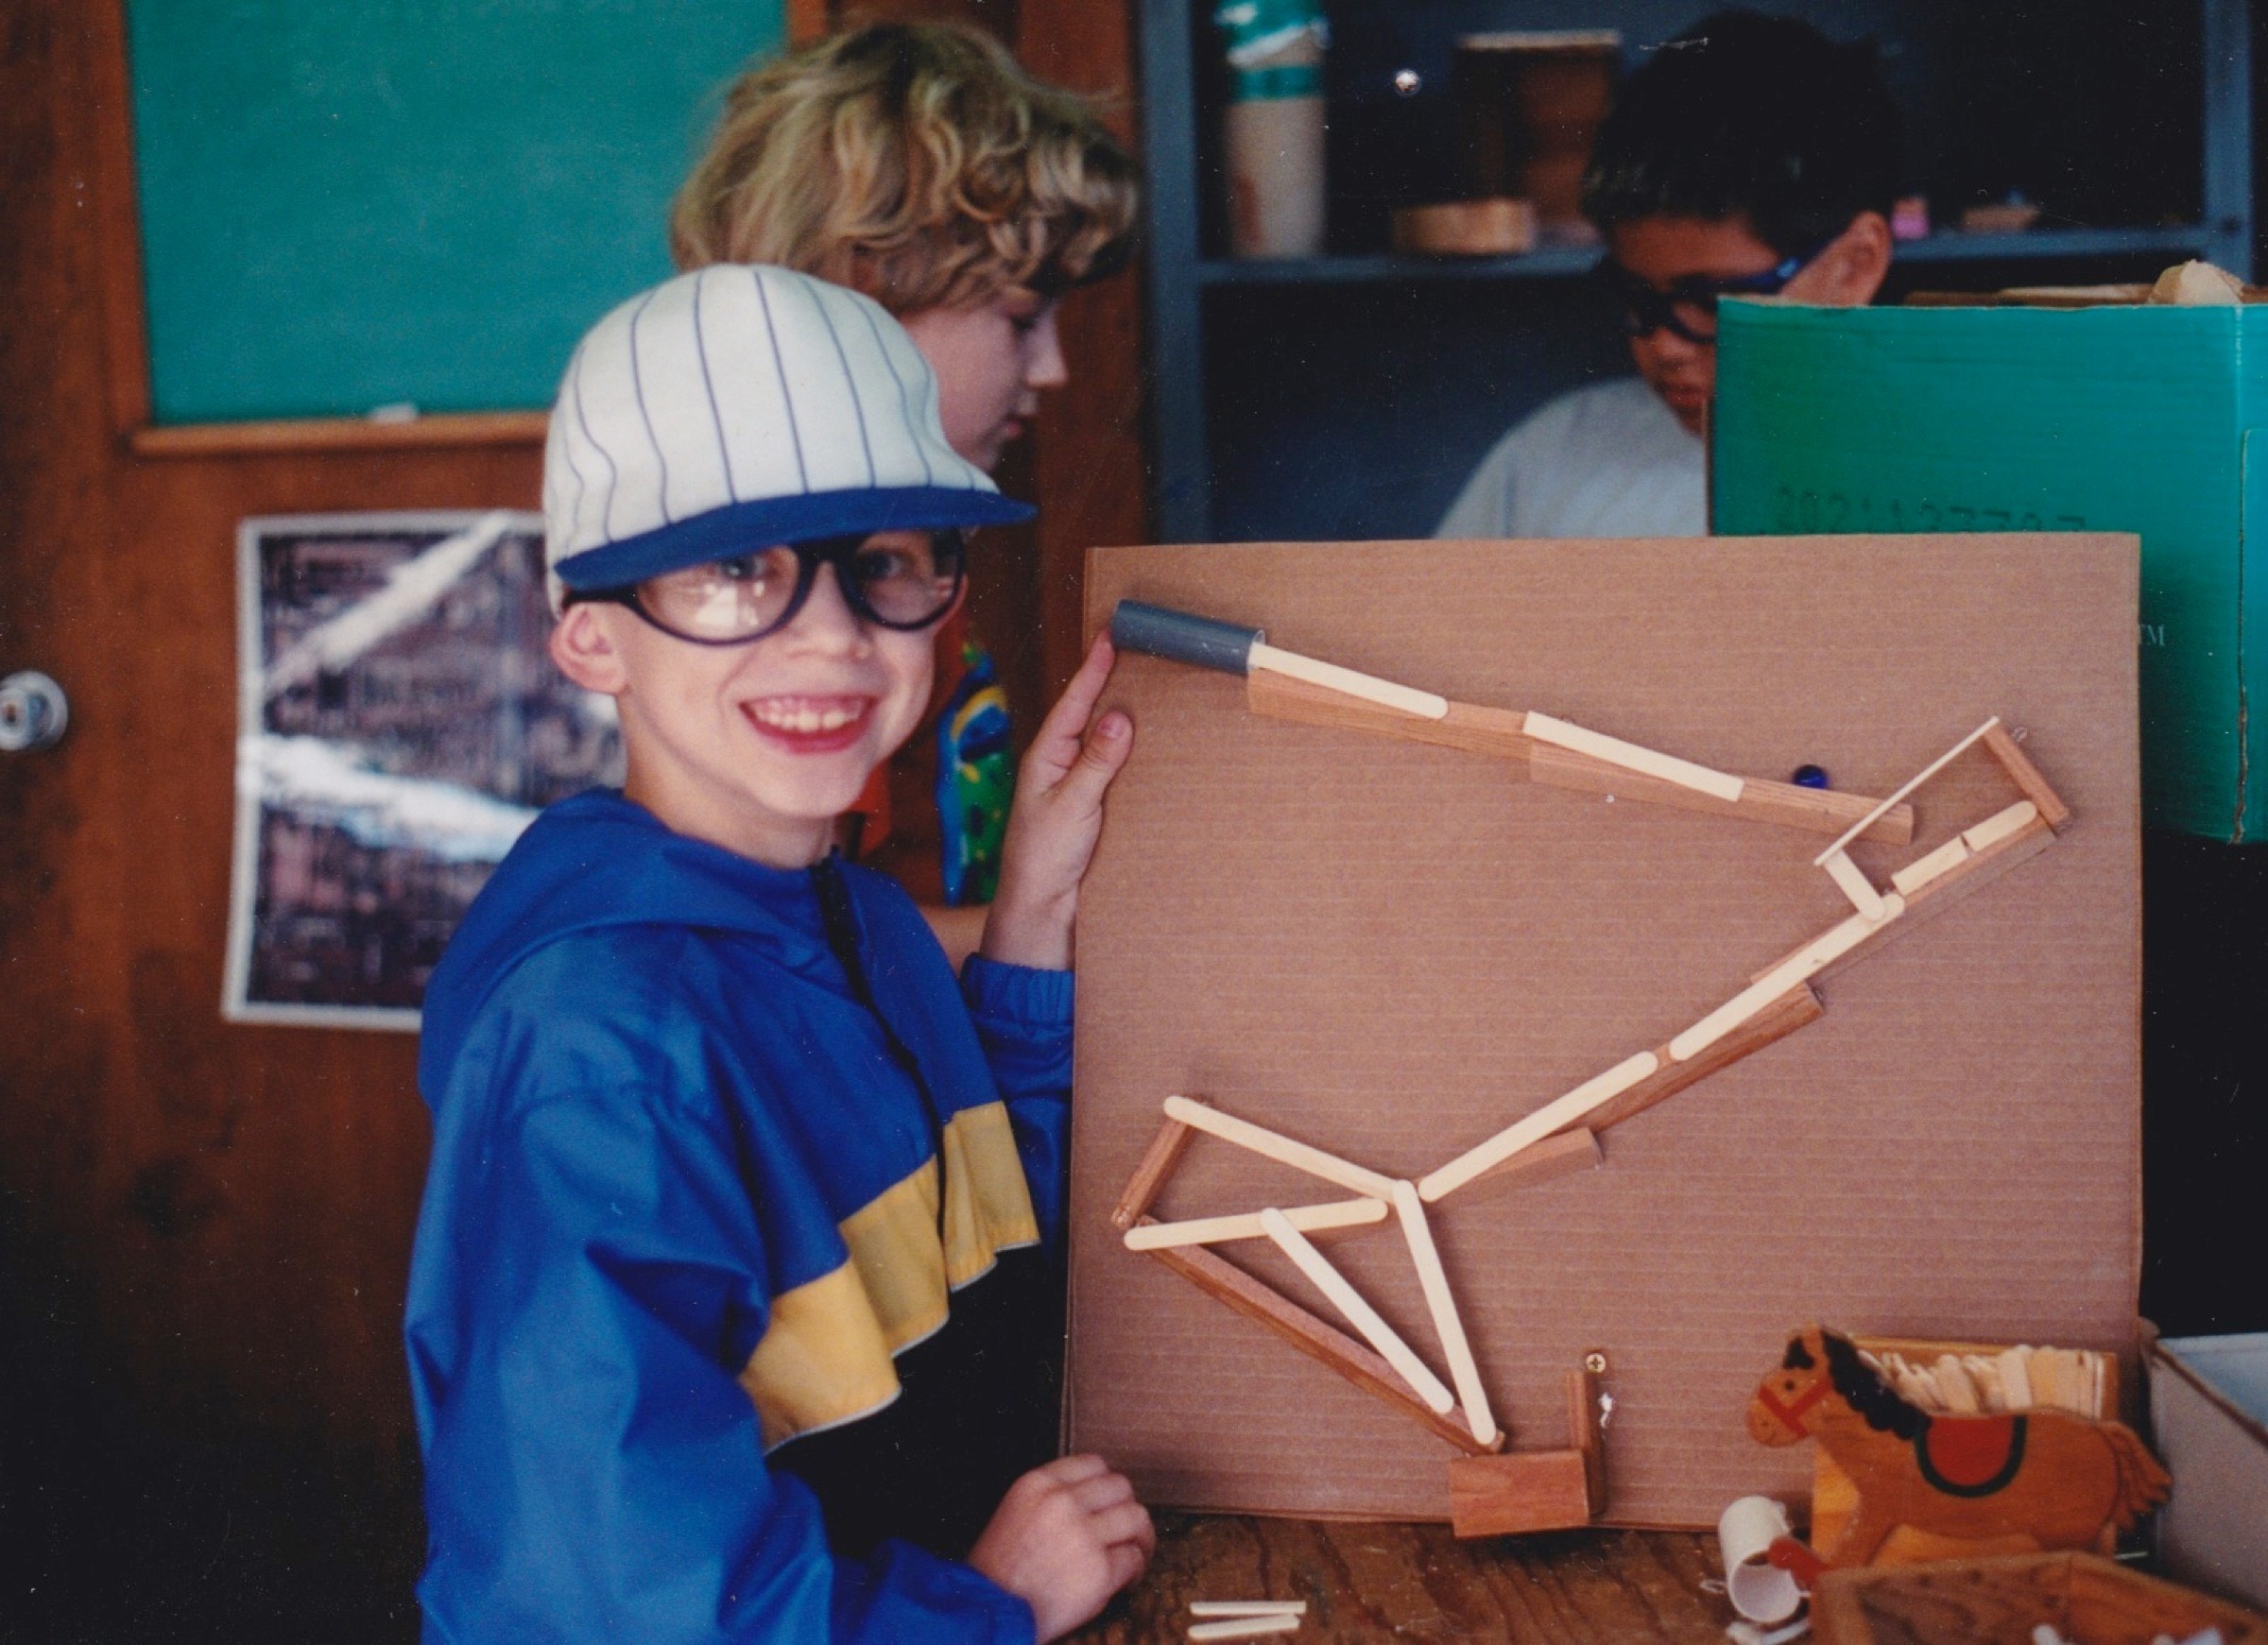
The marble roll was a popular project for the 8-12 year olds.
The first year I taught was rather hectic mostly because half of the projects I’d thought up were too difficult. For I students I still have to remind myself: simplify, simplify, simplify. The following years the class was still busy, often very busy, but deinitely under control. Every year kids dream up new things to build, and new ways to build, eliciting in me the old, “why didn’t I think of that,” response. Sometimes I’m rewarded with the chance to just sit and watch everyone working on their own. All in all, woodworking with kids has been the most fun, interesting and meaningful woodworking I’ve done.
*****