Below is a link to the new Builder Board roof system:

Below are drawings with dimensions. This new system is harder to layout than the other system, but once its drawn out its about the same amount of work to build, but lighter, and requires less material. It requires notches to be cut in the roof boards which adds work but not having to add hook and loop fastener (and supporting strips) is less work.
https://woodshop4kids.com/wp-content/uploads/2017/09/builder-gables-closeup.pdf
This design solves the problem of grass getting into the hook and loop fastener and having to replace it down the road. The new design keeps kids from knocking the roof off of the house from the inside unless they are getting especially crazy. I was a little worried that the parts that stick out from the roof bumps might be knocked off. This only happened one time last summer (the plywood was defective) when kids try to take the roof boards off from one end of the roof board. If this does happened it can be fixed relatively easily by cutting out the old piece and glueing and screwing a new piece in its place. Here is a picture of a repaired bump:
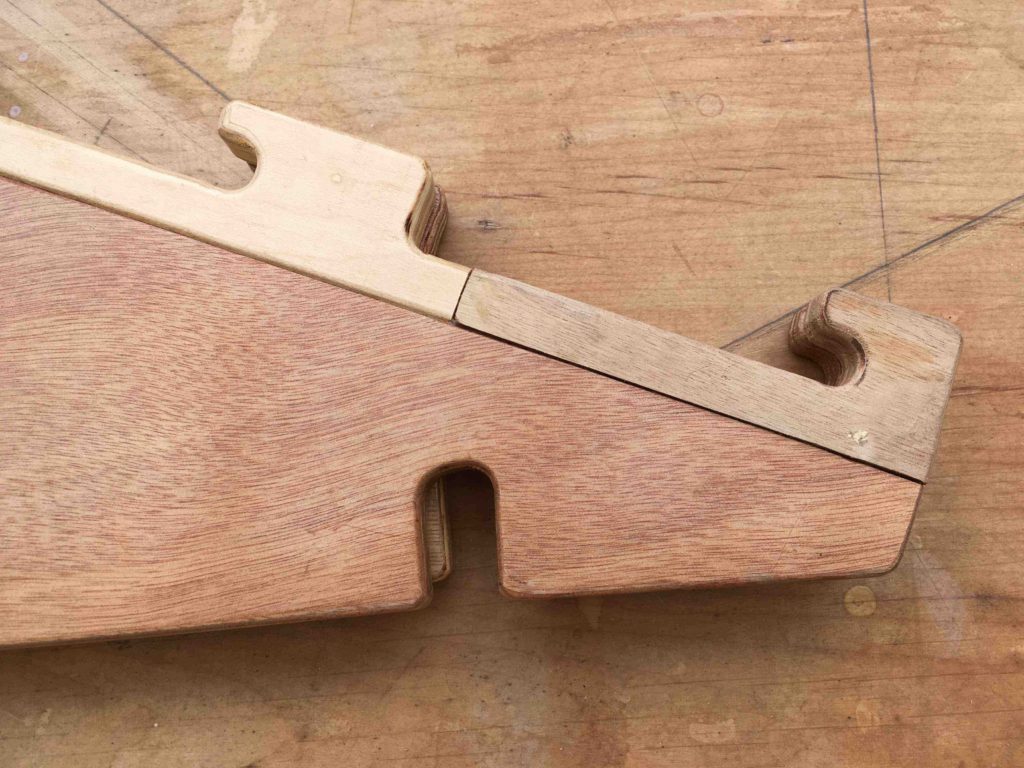
Notice that the notches below in the roof boards are slightly wider than the notches in the other boards. This makes them to drop into place a little easier. Sometimes the first board will require a little jiggling for it to fall into place.
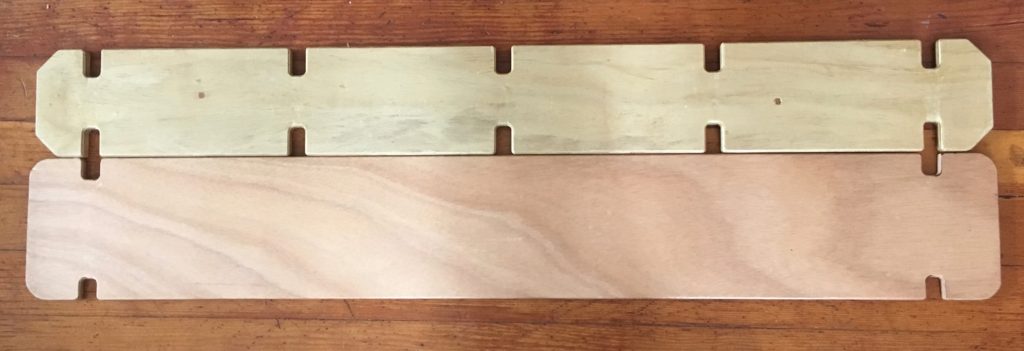
Here are the drawings with dimensions:
New Builder Boards Gables
(Right click and choose Save As if you have trouble downloading the PDF.)
Here is the history the roof design if you are interested:
For years I’ve used hook an loop fastener to hold the roof boards of my Builder Boards down. Its worked well and keeps kids from knocking the roof boards off from inside the house. Its more complicated to build than I’d like, and when the set is used outside grass gets in the hook and loop and is hard to remove.
A few months ago I got and email from Dave Brown who was building a set for the childrens museum in Longview, WA. He apparently didn’t think much of the hook and loop system so he invented his own system: ½” dowels protruding from the gable ends and ¾” holes in the roof boards. I’m glad he did.
I tried it and liked it. I used a doweling jig to keep the dowels straight and in the exact middle of the gable end and I glued the dowels in. It was easier to build, easier to store, used less material, was lighter, didn’t need hook and loop fastener, and just seemed like a better design. Still kids could knock the boards off from the inside, but this doesn’t happen very often and Builder Boards should have adult supervision anyway.
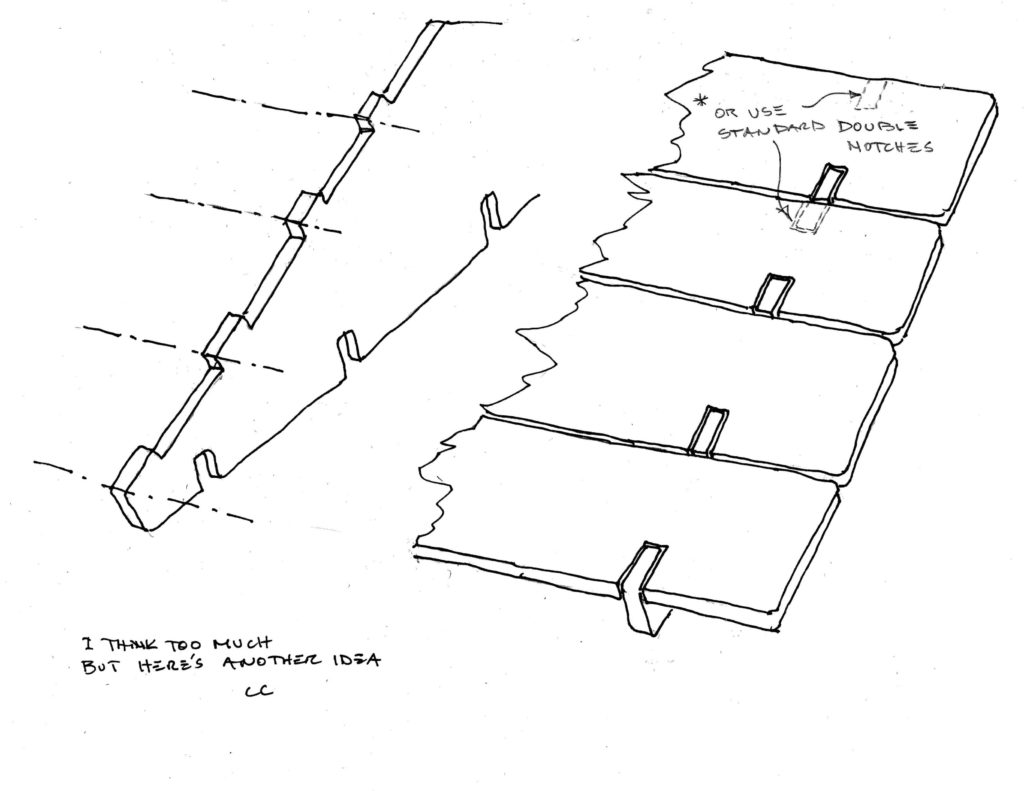
A month or two after I made my own pegged roof I was showing it to my cousin Carl, who had, years earlier, suggested ten notch boards with equal spacing between the notches. A few days later I received this drawing:
So I built test set. I used four notches in each board and wider roof boards
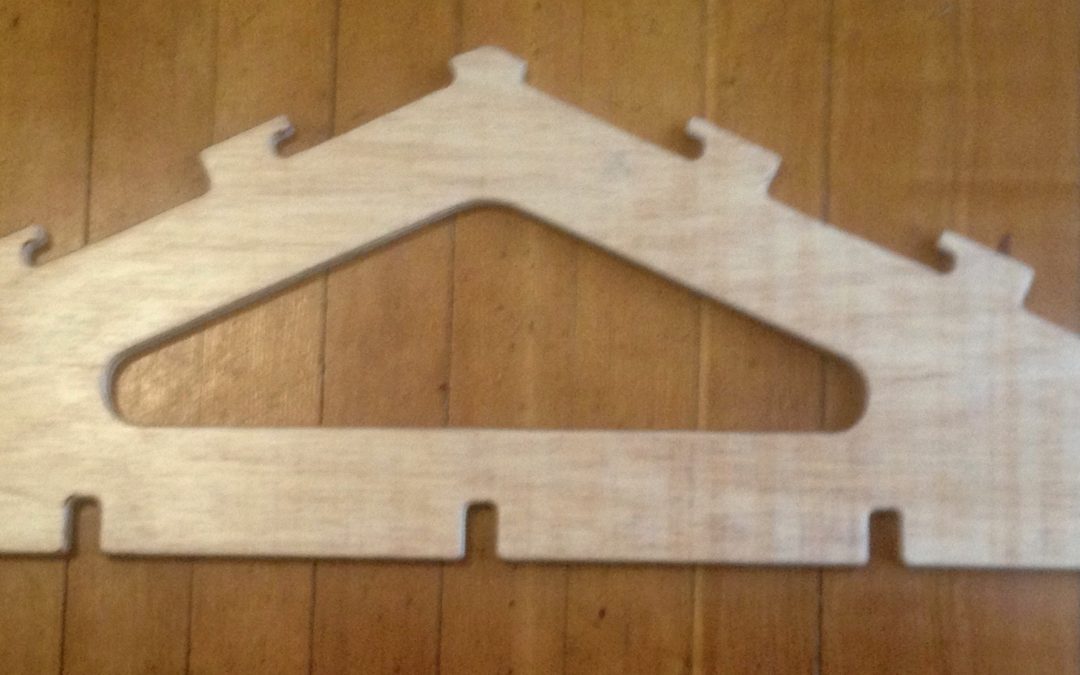
The picture below shows the bumps on the gable ends:
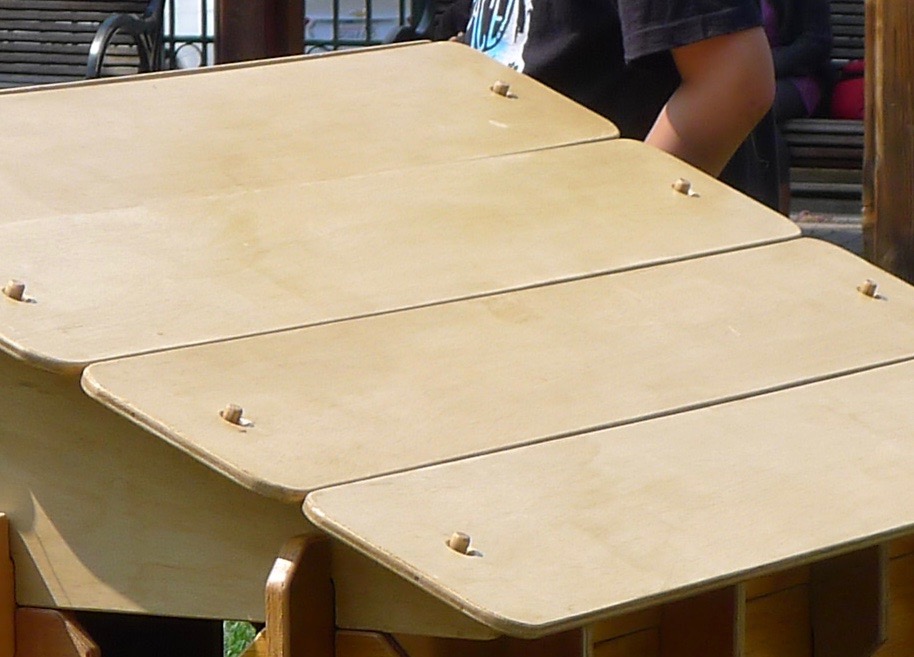
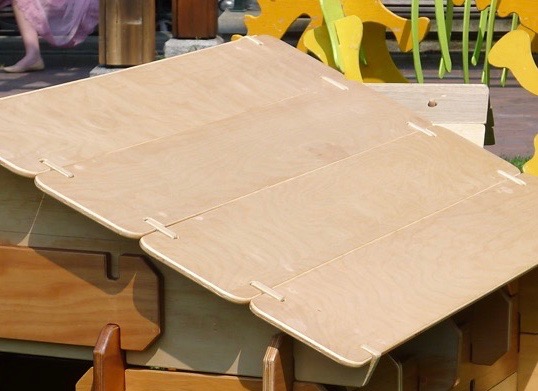
Here is what it looks like with the roof on:
This worked welI and it was easier to build than with the dowels. Also the design fits better with the rest of Builder Boards. Still there was the problem of rambunctious kids knocking the boards off from the inside So I extended the bumps a little bit as show below. This has worked very well and I have converted all the velcro to the protruding bump system.
••••

Brilliant!
Thank you for sharing this.
I’ve not been able to find the dimensions for the boards themselves, though I’m pretty sure you have posted them.
Could you please direct me to them?
Excellent article! Keep up the great work!
My 6th grade math classes built a set of these in July 2017. The kids had a blast, learned to use hand tools, jigs, and sandpaper. They had to scale the drawings to make full-sized patterns then make sure the notches were properly spaced. This was both challenging and fun for 11 to 12-year-olds. I recommend this project for any teacher who wants a real-world application for kids using their math and interpersonal skills. The entire project cost me around $500, including all the wood, sawhorses (nice ones), and hand tools. We donated the finished Builder Boards to the preschool that was losing half of their play area.
Great post 🙂
Thanks for the comment. I went back and looked at the post and realized there were a couple of picture missing so I went back and put them in and now its a little easier to understand
Thanks for sharing.